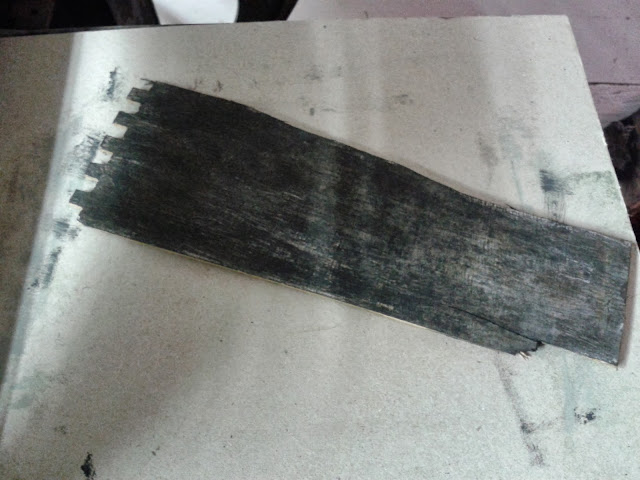
promised you black and white for today; take a piece of wood, apply paint with roller or brush; place the wood on the cardboard which is used to guide the rolling of the printable paper/fabric through the press; place piece of fabric/paper on top of wood, place another bit of guiding cardboard, start rolling your sandwich through the press
 |
| don your specs in order to better see the results |
 |
| white on left and black print on the right, the lighter spots seem more dominant in the photo than in real life, the lighting is pretty lousy indoors today and going out is not an option: we've had rain non-stop since last night, it has been grey and dark all day |


 |
I thought I might try out a smaller version; I've printed the same bit 4 times on the fabric, with a 90 degrees twist with each print resulting in a puzzle square!
My good friend J. popped over this afternoon to give me a private chemistry class!! pretty exciting huh; as I have mentioned before, I sucked at chemistry in school and now that I'm into dyeing I have finally discovered that it can be a really cool and interesting subject and more importantly it has become relevant to my life (of course it has always been that, just not so that I'ld notice) It's not so much that I want to know everything there is to know about chemistry, I want to get to grips with the dyeing. There are just so many things I don't really understand. Today I have learnt about acids and alkalines and ph neutral and your everyday table salts, ahem. The plusses and minusses of the elements are attracted to each other and why and how dyes would want to attach themselves to animal and vegetable fibres in different ways has all to do with how the fibres are built up. Why a fabric might need a mordant. How to fix the dye?! What's the point of wanting to understand? For me, I hope it will help me achieve better dyeing results, it's a lot of fun doing it with her as she knows so much and together we're learning about the mysteries of dyeing. |

immediately we were surprised by this latest result: the brown-greys can be explained by the acorn shell dye, but the turquoise, where did that come from?
the turquoise squares are obviously a result of the clamp-resist, but why we do not know; the dye pot is aluminium and the clamp is iron with rubber tips; in the last batch with button-clamp-resist in the same pot, same clamp there was no such effect. This is a still a riddle. I will be attempting more clamping in the same dye and see what the results will be next week.
 |
| by the way: we do like the blue |


Comments
absolutely, sharing with a friend is just one of the most wonderful experiences in our lives, Nancy
Everything on here really beautiful - and the printing! Looks like so much fun.